
If you don’t have the slightest idea on how to change a tire, this blog is for you. Some people might think that this is trivial but a little refresher won’t hurt.
That's why we made this handy guide so that you won't be dumbfounded next time you unexpectedly need to change your tires. Or someone else’s, if that’s the case.

Step 1: Secure the location
Make sure that the ground is solid and flat. You don't want to run after a rolling unmanned car. If you have a choice, park as far away from the traffic as possible. Use your hazard lights and early warning devices so that the coming traffic will be informed of your location.
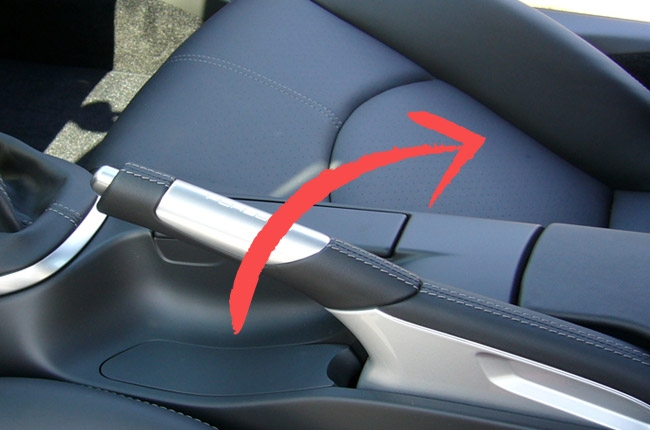
Step 2: Apply the parking brakes.
You should also put your car in 1st gear or reverse for manual transmission or “Park” if you have an automatic transmission.
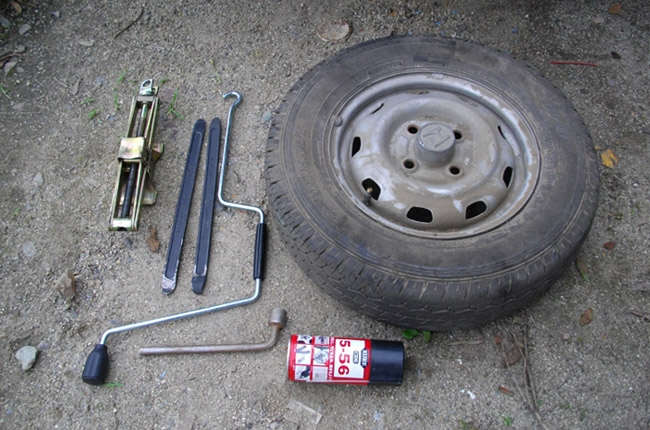
Step 3: Take out the tools.
Get the tools (lug wrench and jack) and the spare tire. Make sure that everything's in proper condition and the spare should have the correct tire pressure.
It should only make contact with the metal parts near the tire that you need to change and NOT the plastic moldings. If you're not sure of the position, check the owner’s manual.

Step 4: Raise the jack until it supports the car.
Don't lift the car off the ground yet. You don't need the wheel to be turning instead of the nuts.
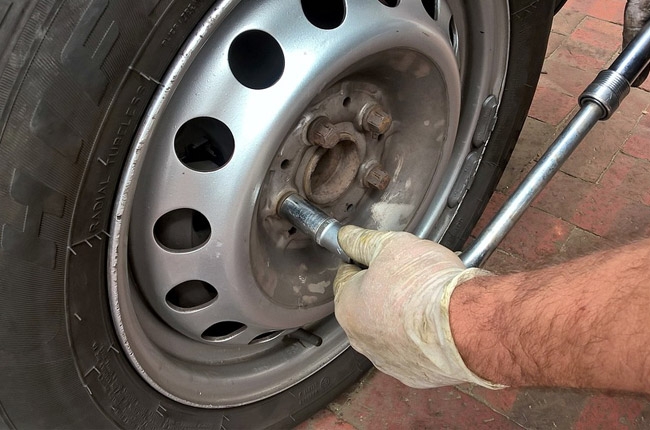
Step 5: Loosen the nuts (counter-clockwise).
This is the tricky part. Remember that when your wheels were put in place, they were tightened thoroughly for your safety. It’s important that you exert an extra force onto the lug wrench to jerk its tightness.

Step 6: Lift the car and remove the tire carefully.
The car should be just high enough to remove the tire. The wheel might stick to the hub due to dirt or rust. You can either use a rubber mallet or your fist to jerk the wheel off.

Step 7: Install the spare tire.
The spare tire should align with the hub perfectly. Once everything’s in place, put the lug nuts back.
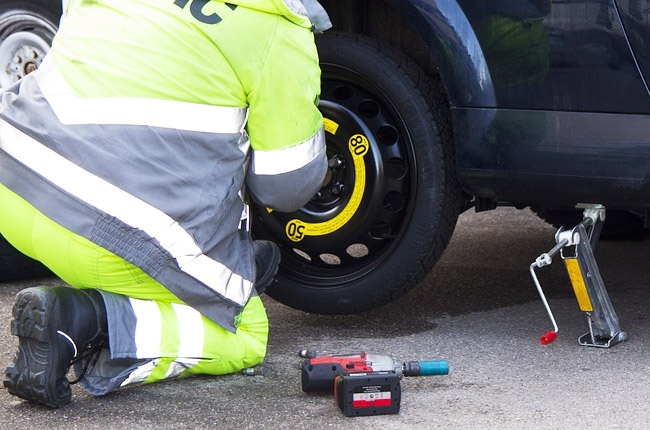
Step 8: Tighten the nuts until snug.
You can do this by hand and through a star pattern (the next nut should be the one across). Take note, however, that you don't have to tighten the nuts fully while the jack is still up.

Step 9: Lower the jack and then tighten the nuts.
It's important that the car's weight is on the ground when you're doing this. Tighten the nuts like your life depends on it. You don’t want to endanger lives due to recklessness.
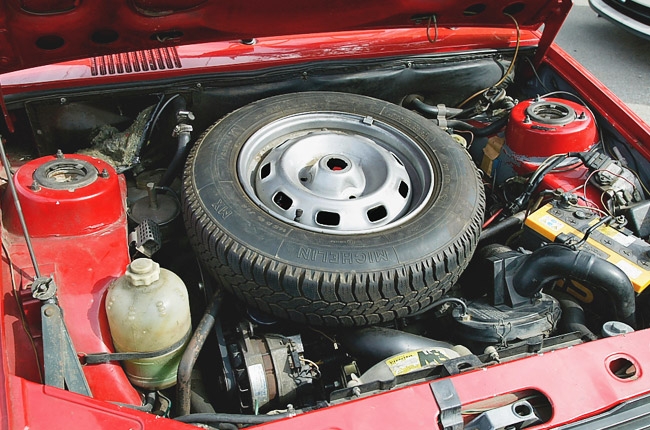
Step 10: Remove the jack and store the spare tire and tools.
Don’t forget to pack up. That includes the spare tire, tools, jack, and early warning device.
Latest Features
-
The 6 things every Ford Ranger must pass before it leaves the factory / Featured Article
Every Ford Ranger, from the base model to the Ranger Raptor, goes through a full inspection process before it leaves the factory. This includes six steps that make sure it’s ready to drive a...
-
Which GAC AION EV is best for your everyday lifestyle? / Featured Article
The GAC AION lineup has something for everyone, maybe you're after space, speed, or just a smooth city drive. Here's a quick breakdown of which model might work best for your day-to-day life...
-
The AutoDeal Awards 2024: Celebrating excellence in the auto Industry / Featured Article
The AutoDeal Awards 2024: Celebrating excellence in the auto Industry
Popular Articles
-
Cheapest cars under P700,000 in the Philippines
Jerome Tresvalles · Sep 02, 2024
-
First car or next car, the Ford EcoSport is a tough package to beat
Jun 18, 2021
-
Car Maintenance checklist and guide – here’s everything you need to know
Earl Lee · Jan 12, 2021
-
Most fuel efficient family cars in the Philippines
Bryan Aaron Rivera · Nov 27, 2020
-
2021 Geely Okavango — Everything you need to know
Joey Deriquito · Nov 19, 2020
-
Family cars in the Philippines with the biggest trunks
Sep 20, 2023
-
Head to head: Toyota Rush vs. Suzuki XL7
Joey Deriquito · Oct 28, 2020
-
Why oil changes are important for your car
Earl Lee · Nov 10, 2020
-
2021 Kia Stonic — What you need to know about it
Joey Deriquito · Oct 16, 2020
-
Top 7 tips for buying a used car in the Philippines
Joey Deriquito · Nov 26, 2020


