Washing your car’s engine is more complicated than it seems. It’s definitely not like your average car wash wherein you're just going to spray it with water, lather it with some shampoo, rinse it, and then dry it off. Rather, it requires a meticulous process in order for you not to end up damaging its other components, especially the electricals.
While you do have a choice of having your engine washed at a trusted shop, some would still prefer the DIY practice. Now, before proceeding with the different steps, you must first prepare the following tools and materials below:
- Garden hose along with a watering wand
- Blower or compressor (optional)
- Spray bottles
- Stiff fiber-bristle brushes
- Wrenches
- Microfiber cloth
- Vacuum
- Degreasing agent
You can also wear protective gear while you're going through the process. This should protect you from the hazardous or annoying grime that you will encounter while cleaning your engine bay.
- Rubber gloves
- Safety glasses
- Dust mask
After you have prepared all the needed equipment, follow the process of cleaning your car’s engine with water. Do take note dos and don’ts in order for you to avoid any sort of issue throughout the entire procedure.
Let your car’s engine cool down

This is a step that must not be skipped, as spraying water on hot components of your engine could potentially cause damage to it such as warping and cracking. The heat could also burn your hands while working. Now, you can lift up the hood in order to speed up the cooling process of your engine. When dealing with the plastics, make sure they don’t come into contact with any of the hot bits in your engine bay like your exhaust headers, radiator, and the engine block itself. These plastics, while capable of withstanding high ambient temperatures, may melt when directly exposed to an extremely hot surface.
Tighten all the covers

Granted, you’ll be using water and other cleaning chemicals, you must secure all covers found on your engine including the caps. Make sure to tighten them up in order to prevent the entry of water and other chemicals that will be used throughout the process.
Secure its filters and electrical systems
The alternator, fuse box, distributor cap, spark plugs, and coil packs should be covered with plastic and secured by electrical tape in order to protect it from water. Make sure to drape the plastic over the components lightly as direct contact may cause it to melt. Aside from that, you should also disconnect the battery terminals or even remove the battery if you can, however, do take note that some of your vehicle settings will reset once it has been disconnected.
Wear your protective gear

Before you go on removing the dust and dirt on your engine bay, wear your protective gear first. Your safety glasses and dust mask shall protect your eyes and mouth from flying debris while your rubber gloves will protect your gloves from staining and chemical-based cleaners.
Dry cleaning process

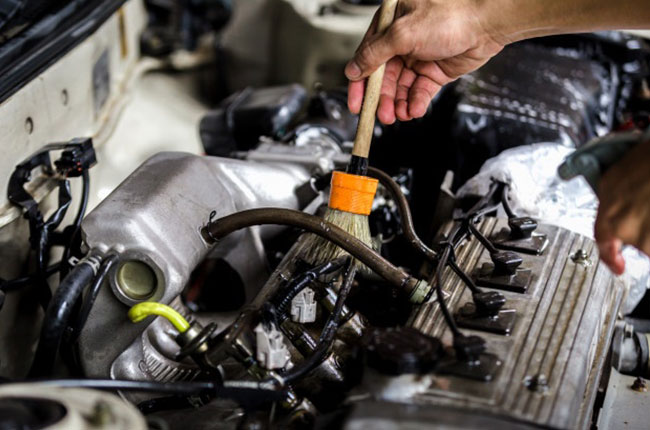
Start removing as much dirt as possible, you can use the vacuum to suck up some of the loose particles, or a blower to blow them away. After that, get through the tight edges with your brush in order to catch those tiny pieces of dirt, do take note that a fiber brush is better used for plastic and synthetic materials. After loosening up the excess amount of dirt, use the vacuum cleaner once again in order to collect it properly. Remember to brush lightly as your goal is to take out the loose dust that is sitting on the surfaces of your engine bay. Do not put a ton of elbow grease in unless you want to scratch the metals and plastics. Remember dirt in itself is abrasive so don’t scrub, instead of dust off the surfaces.
Time to sprinkle it with some water

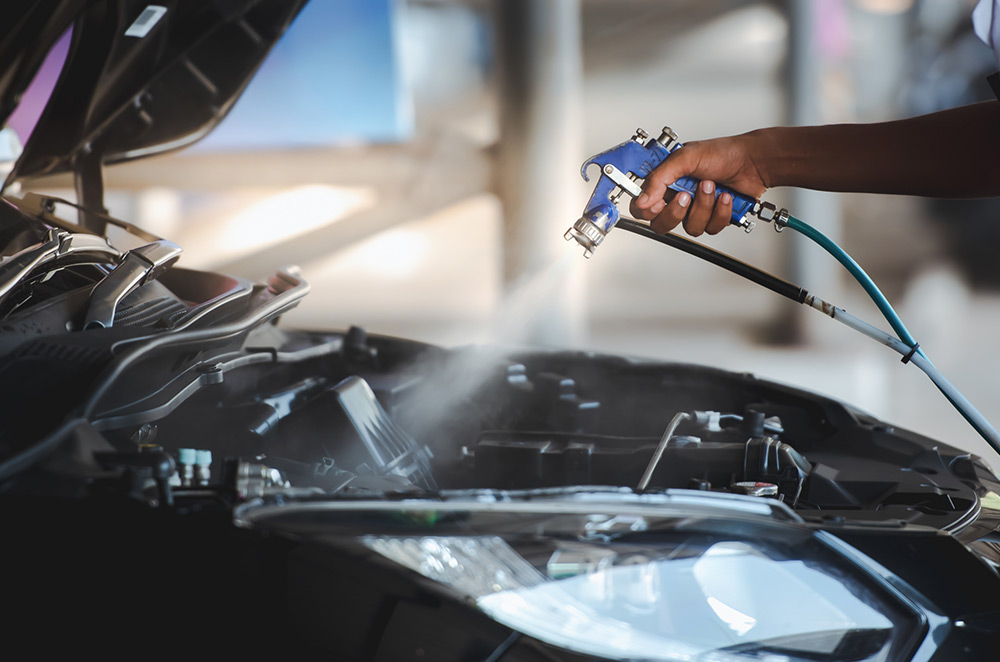
Before you spray on some water, you better check all the other components first if they’ve been properly covered and secured, after doing so, it's time to sprinkle the engine bay with some water using a spray bottle. Use warm water as shocking parts of your engine will cause cracking or warping if not fully cooled.
Degrease every surface exposed on your engine bay

After sprinkling your engine bay with some water, it’s now time to apply the degreaser. Spray it on every exposed surface and let it rest for about 10-minutes in order for the degreaser to work. If you don’t have a dedicated degreasing agent on hand, you can use a dishwashing liquid solution. Use about 1 part liquid to about 10 parts water for this solution.
Time to rinse

Carefully rinse it with a low-pressure spray. It is highly recommended not to use those high-pressurized water guns as they could potentially damage some of the engine components if mishandled. If you have no other choice, just be careful in using them and never pull the trigger to engage high pressure when you’re cleaning the engine bay.
Dry it completely
You could dry it traditionally with a cloth by wiping all of the wet areas. Another method is you could either use a leaf blower or perhaps a reversible vacuum cleaner to blow off the engine bay and let it dry for a couple of minutes.
The electric components should be hand-cleaned

It’s now time to remove the protective covers of the electrical components. After doing so, you may then clean it by hand. Use an extra cloth and dry brushes. After thoroughly wiping the wet portions on your engine bay, you may then reinstall the car’s battery.
Turn on your

Now, onto the finishing touch, turning on your engine shall generate enough heat to clear your engine of excess moisture. Now, all that’s left to do is clean up the mess you’ve made in your garage.
Latest Features
-
The 6 things every Ford Ranger must pass before it leaves the factory / Featured Article
Every Ford Ranger, from the base model to the Ranger Raptor, goes through a full inspection process before it leaves the factory. This includes six steps that make sure it’s ready to drive a...
-
Which GAC AION EV is best for your everyday lifestyle? / Featured Article
The GAC AION lineup has something for everyone, maybe you're after space, speed, or just a smooth city drive. Here's a quick breakdown of which model might work best for your day-to-day life...
-
The AutoDeal Awards 2024: Celebrating excellence in the auto Industry / Featured Article
The AutoDeal Awards 2024: Celebrating excellence in the auto Industry
Popular Articles
-
Cheapest cars under P700,000 in the Philippines
Jerome Tresvalles · Sep 02, 2024
-
First car or next car, the Ford EcoSport is a tough package to beat
Jun 18, 2021
-
Car Maintenance checklist and guide – here’s everything you need to know
Earl Lee · Jan 12, 2021
-
Most fuel efficient family cars in the Philippines
Bryan Aaron Rivera · Nov 27, 2020
-
2021 Geely Okavango — Everything you need to know
Joey Deriquito · Nov 19, 2020
-
Family cars in the Philippines with the biggest trunks
Sep 20, 2023
-
Head to head: Toyota Rush vs. Suzuki XL7
Joey Deriquito · Oct 28, 2020
-
Why oil changes are important for your car
Earl Lee · Nov 10, 2020
-
2021 Kia Stonic — What you need to know about it
Joey Deriquito · Oct 16, 2020
-
Top 7 tips for buying a used car in the Philippines
Joey Deriquito · Nov 26, 2020


